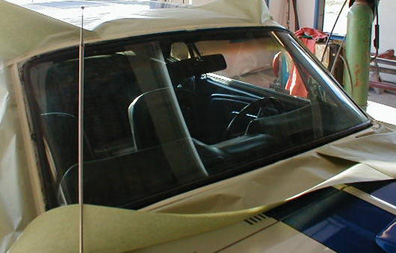
This page is my feeble attempt to show how I install a windshield with a weatherstrip. Although I have installed many windshields the past 30 years , I don't consider myself an expert . There are different ways to do this so if you have other methods feel free to ignore , laugh or pick up a few new tips.
Working with glass can be hazardous to both your mental and physical health. A friend had to have glass removed from his eye when a piece shattered while removing windshield trim . And trying to fix a water leak or remove 30 year old glass without breaking it is hard on the brain.
Always use eye protection when removing trim or handling glass . If you have any doubts hire a glass shop to install your windshield. I take no responsiblity for broken glass and/orbroken body parts. This page is only intended to show how I go about installing this type of windshield , use this information at your own risk.
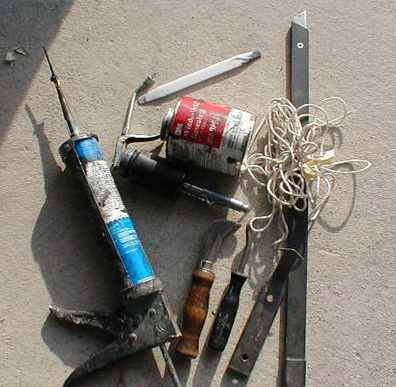
Here are some of the tools I use for this operation , W/S trim remover, a carpet knife to remove the old seal, long knife from snap-on tools for cutting the old seal , cotter pin remover for grabing the seal when installing W/S seal , nylon rope , a plastic W/S stick , stuff to apply non-hardening sealer.
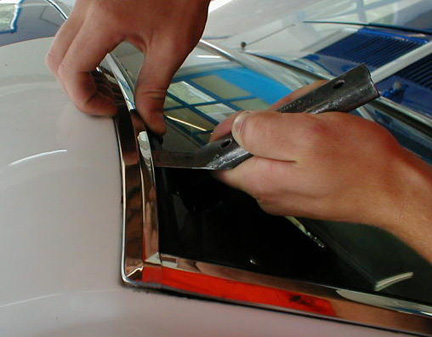
Here my son is CAREFULLY fitting the trim remover between the seal and W/S trim. He will slide the tool until he feels the clip then CAREFULLY twist the tool with one hand and GENTLY pull up the trim with the other to pop off the clip from the trim. Some GM cars the trim fits in the seal and this step is ignored.
Once the first piece is removed the rest come off a little easier. He's going slow so hopefully we wont have bent trim or scratched paint.
Cutting the seal with a carpet knife being CAREFULL not to scrape the glass , I keep the knife pointed up away from the glass and go SLOW to control the knife. Being in a hurry I could break the glass , scratch the paint .
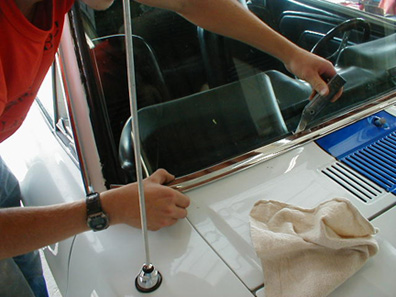
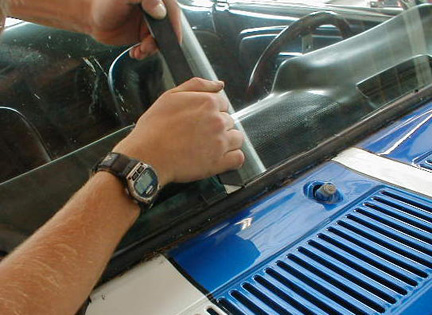
Using a tool made for cutting seals ( from Snap On ) Jim CAREFULLY and SLOWLY cuts along the bottom. This tool is a little faster than a carpet knife although not necessary.
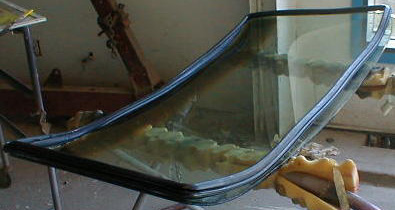
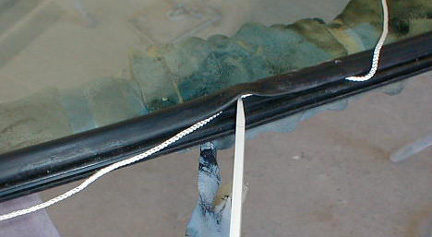
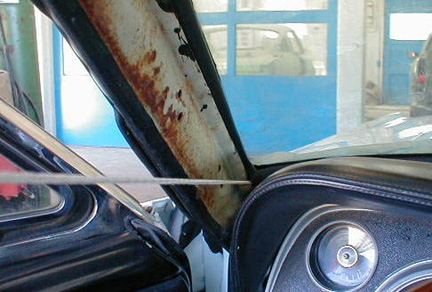
This pic shows how the seal should look when cut. Your cutting off the top of the seal so the Windshield will push out . I'm using a plastic W/S stick to loosen glass from seal, NEVER use metal tools at this time
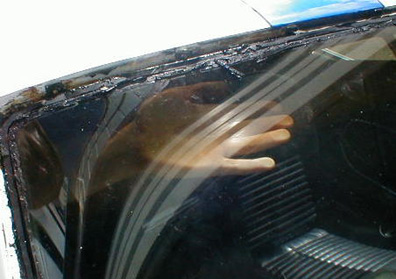
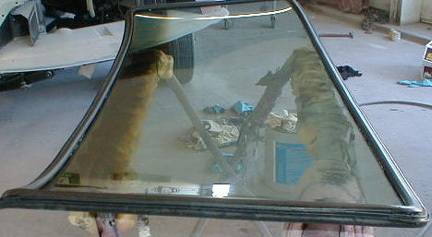
Another pic , ready to pull the glass out .
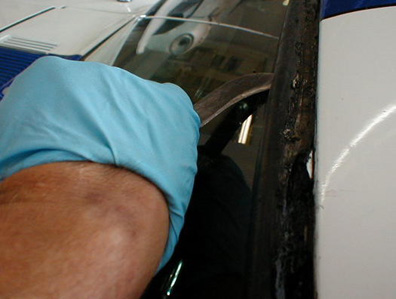
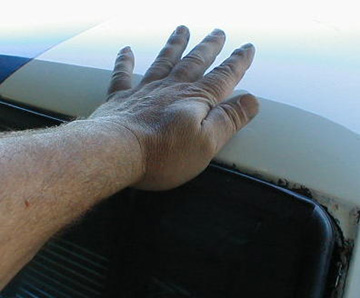
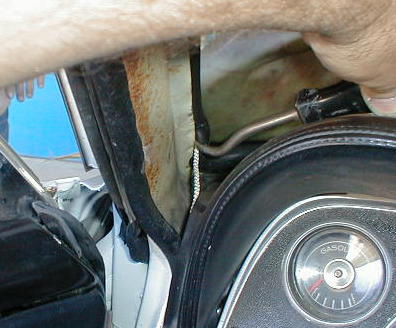
With the seal cut clean from the Windshield we GENTLY tap the glass from the inside with an open hand to loosen the glass from the seal.
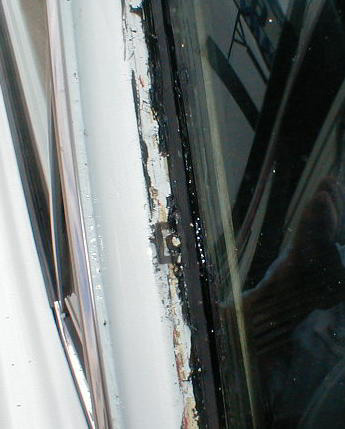
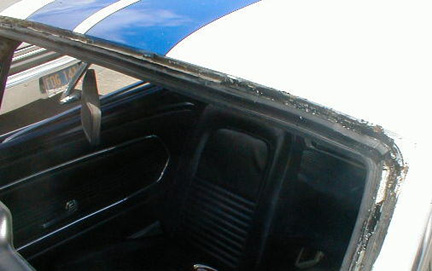
Glass is out , we will clean the opening good , replace the clips . Sometimes a lot of goo comes out with the seal so we will be careful not to get any on the car.
With the windshield clean we are now lining up the seal so we put it on correct. Its not fun to have the seal on when its on backwards.
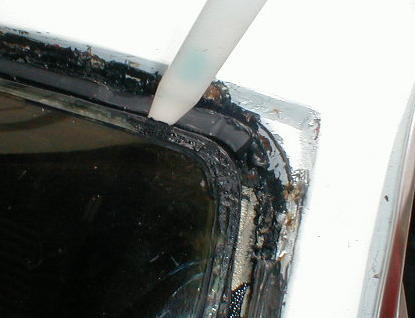
Heres a step that that can wait till the windshield seal is on the glass or the w/shield is in the car. My son wanted to do it now but it is a mess when you fit the seal over the glass. He's filling the glass channel (seal to glass ) with flow grade buytl sealer.
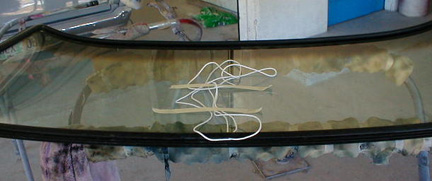
The seal is on ( if you have stainless trim that fits in the seal now is the time to put it on ) and we're ready to put the pull rope in . We made sure the corners are on straight ( very important ) when installing seal.
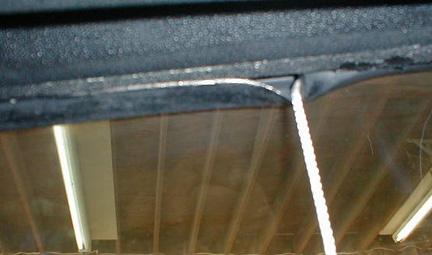
Putting in the pull rope , we use 3/8 nylon clothesline. In the pic is 1/4, I lost my regular rope and the hardware store only had this , it worked .
Rope in and taped up. We start the pull from the bottom of the glass .
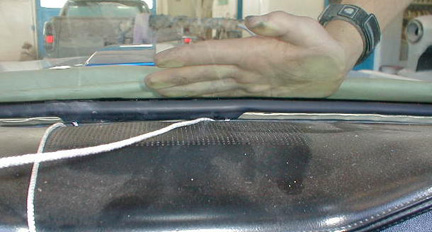
We line up the Glass so it's even on both sides ( very important ) and try to get the bottom groove ( of the seal ) over the pinch weld to help with the pull.
While I start the pull my son pushes down on the glass with one hand and pushes in ( lower glass next pic ) with the other. Dont FORCE anything , go easy and your Glass wont break.
Pulling the seal over the pinch weld . See above pic. I pull one side for a while and then go to the next until I get to the corners.
Pulling the corners , care should be taken here . Here is where you can rip the seal or break something. If you lined up the windshield right it should go in smoothly.
I help the rope with my cotter pin tool ( Its a pointed screw driver that has a hook ) I'm carefull not to get close to the glass with it. Metal to Glass = Crack. My son is still pushing down on the windshield.
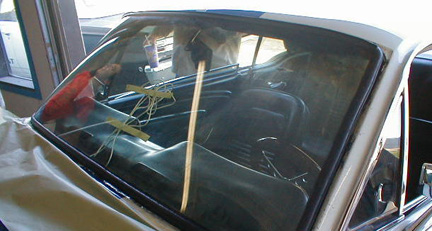
Corners and sides are done , we are almost finished. The top needs care , you don't want to pull the headliner off the pinch weld. Make sure its glued well before starting..
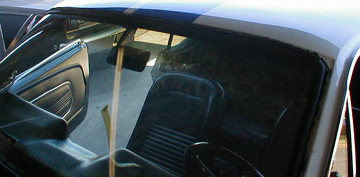
Windshield in no problems. We pull/push on the seal from the inside to get final fit on the pinch weld.
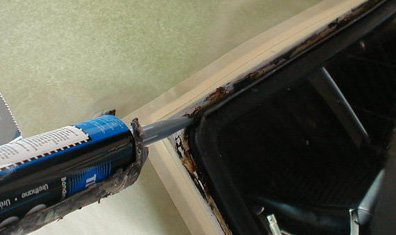
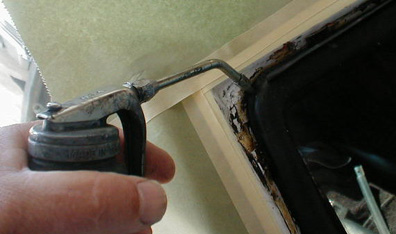
Here in Oregon this step is a must ( rains all the time ). We mask around the W/S to keep paint clean, we will seal with non-hardening sealer.
For most people a cualking gun works fine. We do a lot of this so I have a speical tool.
We are using a 3-M flow grade butyl sealant making sure we seal all around the seal. We will water test the seal and hopefully we will have no leaks. When thats done we will clean W/S and install the trim.
Page might load slow , lots of pictures
On some cars I cut the seal first to see how the mouldings are held in. Some GM cars have hard clips to get at or the moulding fits in the seal and its easier to have the seal out of the way. So I try the moulding release tool first and if I can't hook up a clip fast I break out the knives and start cutting.